
Menu
Tips for Capturing Stunning Photos with Your Smartphone
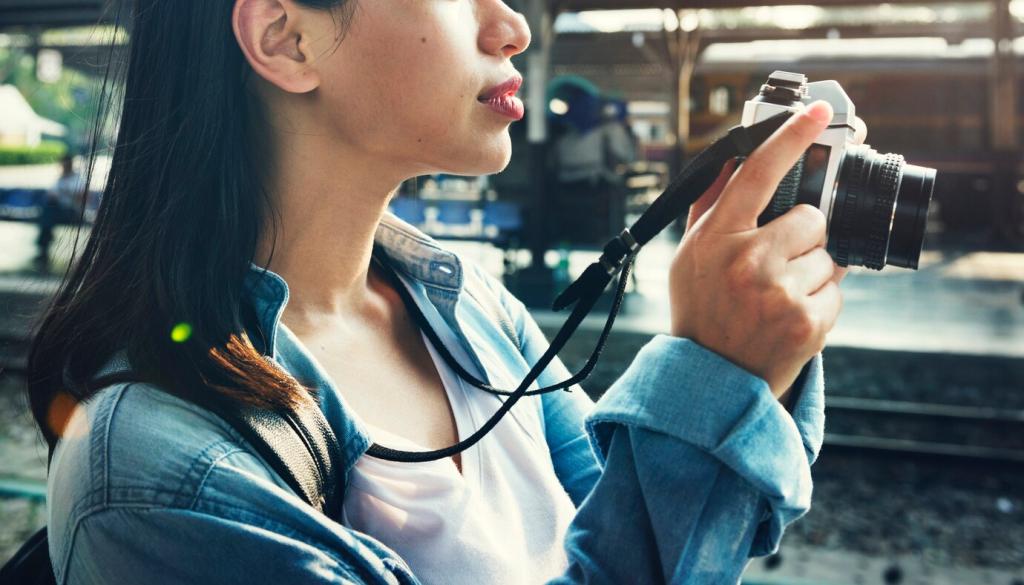
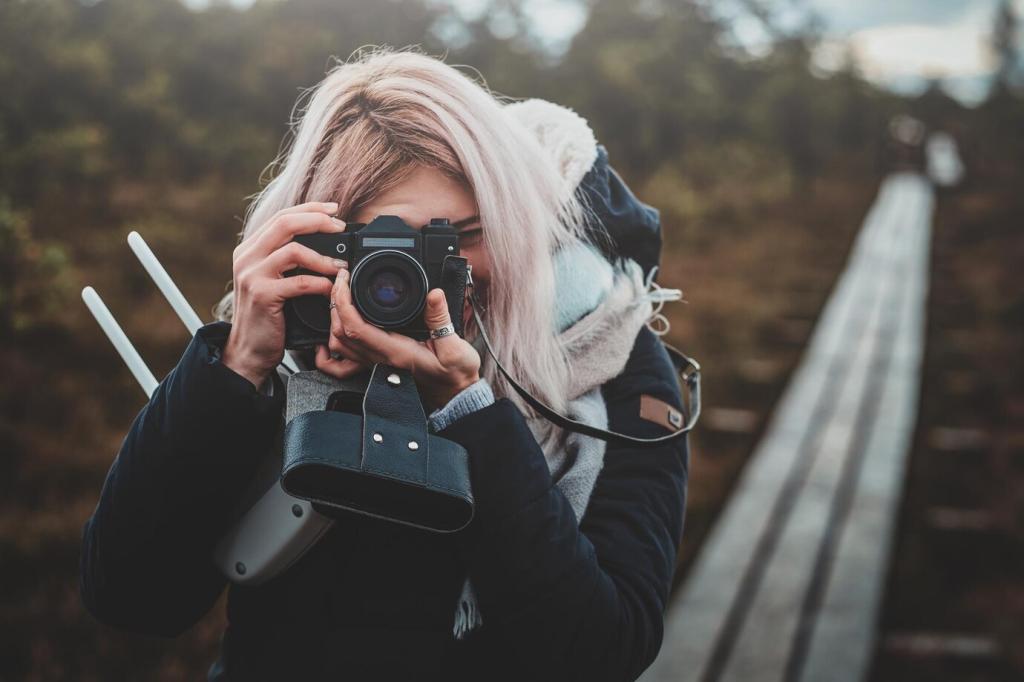
Capturing breathtaking photos with your smartphone is more achievable than ever thanks to advancements in mobile camera technology. However, stunning photography goes beyond just tapping the shutter button. By understanding the fundamentals of lighting, composition, focus, and leveraging both your phone’s native features and your own creative eye, you can transform ordinary snapshots into eye-catching masterpieces. This guide will empower you with knowledge and practical tips through eight comprehensive sections, ensuring every photo you take stands out from the rest.
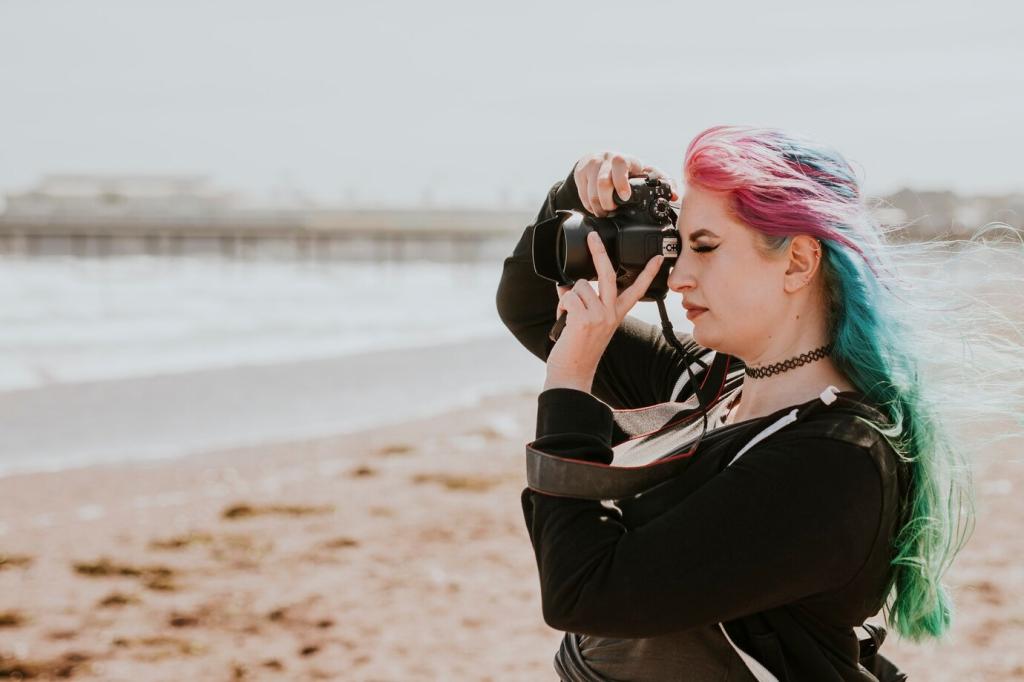
Identifying the Best Light
The best light for photography often occurs during the “golden hour”—shortly after sunrise or before sunset—when sunlight is soft and diffuse. During this period, shadows are gentle and colors appear more vibrant. However, even outside golden hour, you can make use of available light sources by positioning your subject near windows or shaded areas to soften harsh midday sun. Experimenting with different lighting conditions helps you learn how they affect mood and detail in your photos, allowing you to make more intentional choices depending on the story you want your image to tell.
Adjusting Exposure Manually
While smartphones automate camera settings for convenience, they often fail to interpret scenes exactly as you envision. Most camera apps allow you to override automatic exposure by tapping on different areas of the screen to focus, then dragging a slider to brighten or darken the scene. Mastering this technique ensures your photos are neither too washed out nor too dark, especially in high-contrast environments. Manual adjustments enable you to capture subtle details in bright skies or shaded backgrounds, giving your images a polished and professional finish even in tricky lighting conditions.
Controlling Shadows and Highlights
Shadows and highlights define the depth and texture of your images. Learning to control them with your smartphone means being mindful of not only where your light source is but how it falls on your subject and background. Using reflectors or white surfaces can bounce light into shaded areas, while blocking harsh direct light with your hand or an object can prevent overexposed highlights. Most editing apps also offer tools to adjust shadows and highlights after taking the shot, but achieving a balanced exposure in-camera gives you the strongest foundation for a stunning photo.

The rule of thirds is one of the simplest yet most effective composition techniques. By dividing your screen into a 3×3 grid, you can position key elements along the lines or at their intersections to create natural balance and focus. Most smartphone cameras allow you to activate a grid overlay to make this process intuitive. Placing your subject off-center adds dynamic tension and interest. Whether shooting landscapes, portraits, or still life, consciously applying the rule of thirds makes your photos more visually engaging and thoughtfully composed.
Leading lines are powerful compositional tools guiding the viewer’s gaze toward your main subject. They can be as obvious as a winding road, fence, or architectural feature, or more subtle, like the curve of a shoreline or an arrangement of objects. When framing your shot, look for natural or artificial lines directing attention deeper into the scene. By positioning these elements carefully, you invite exploration of the whole image and enhance the sense of depth, making simple smartphone photos appear more complex and immersive.
Using elements within your scene to frame your subject—such as shooting through a doorway, branches, or windows—adds a sense of depth and context. Layering foreground, midground, and background elements further enhances the three-dimensional feel of your photograph, leading to more immersive and intriguing images. With smartphones’ limited depth of field compared to professional cameras, thoughtful use of composition is key to creating separation between subject and surroundings, resulting in photos with greater impact and storytelling power.
Focusing for Sharpness and Clarity
Most smartphone cameras offer touch-to-focus functionality—simply tap the part of the screen where you want focal sharpness. This is especially useful for portraits, close-ups, and scenes with multiple elements at different distances. Intentionally setting your focus avoids the frustration of blurry subjects or unintended focus points. Practicing with this feature in various conditions, from low light to macro shots, enables you to capture images where every detail you care about is rendered with clarity.
Motion blur can ruin an otherwise great photo, particularly in low-light conditions or fast-moving scenes. To minimize blur, ensure your hands are steady by bracing your arms against your torso or a solid object. Many smartphones also include optical or digital image stabilization that helps reduce shake, but these aren’t foolproof. Using burst mode to take several shots in quick succession increases your chances of at least one perfectly sharp image. Additionally, understanding the effect of shutter speed in manual or pro camera modes can help you freeze motion more effectively when necessary.
In scenes with variable subjects or unpredictable action, autofocus can continually adjust, resulting in inconsistent sharpness. Utilizing autofocus lock allows you to set the focus on your desired subject and recompose your shot without the camera shifting its focus point. This is especially valuable in close-up photography or when shooting through glass, foliage, or crowds. Learning how to activate and use focus lock on your specific device puts greater creative control in your hands, ensuring your subject remains the undeniable center of attention.

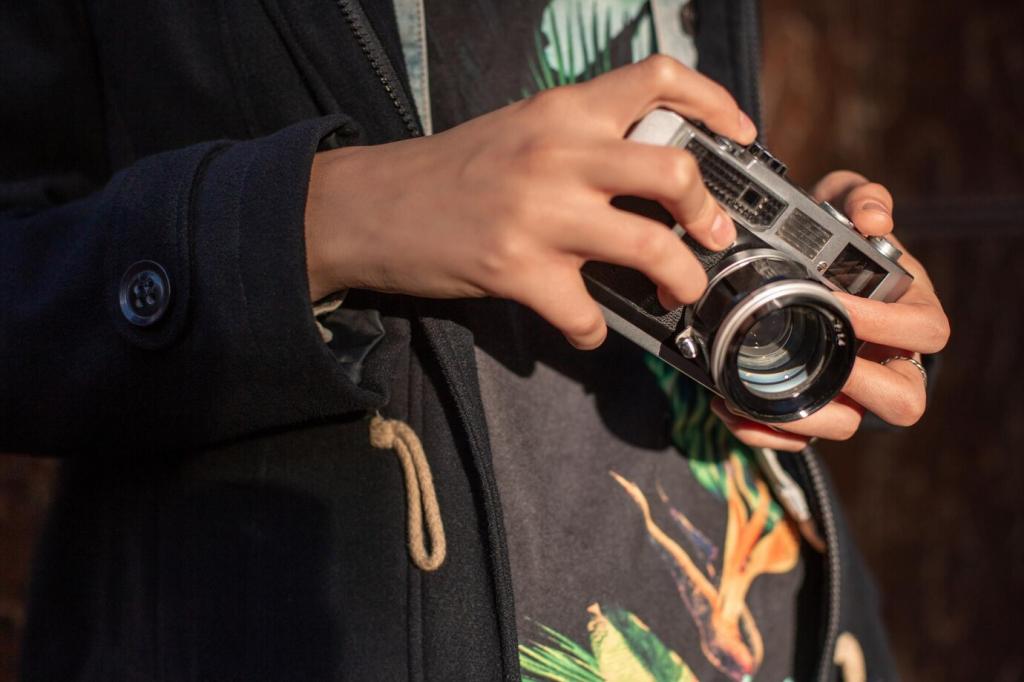
Making the Most of Your Camera's Features
Exploring Different Lenses and Modes
Many smartphones come equipped with multiple lenses, such as ultra-wide, telephoto, and macro. Each lens opens up unique possibilities: wide-angle for expansive landscapes, telephoto for reaching distant subjects, and macro for intricate close-ups. Experimenting with these modes allows you to choose the best tool for your creative vision. Portrait modes often simulate shallow depth of field, beautifully separating subjects from their background. Understanding when and how to use each feature ensures you’re not only capturing a moment, but doing so in the most vibrant and professional way possible.
Utilizing Night and Low-Light Modes
Shooting in low-light has historically been a challenge for smartphone cameras, but recent advances now mean even nighttime shots can look remarkable. Night mode works by automatically lengthening exposure and combining multiple frames for brighter, clearer images. To maximize results, keep your phone steady during the capture process, perhaps by resting it on a stable surface. These modes are especially effective for urban nightscapes, evening events, or cozy indoor settings, allowing you to document atmospheric scenes without relying on harsh flash.
Taking Advantage of High Dynamic Range (HDR)
HDR mode helps you capture scenes with both bright highlights and deep shadows, which are otherwise difficult to photograph due to the camera’s limited dynamic range. By merging several exposures, HDR brings more balanced light and color to your images, preserving detail in areas that would normally be over- or underexposed. Use HDR when shooting high-contrast scenes like sunsets, backlit portraits, or landscapes. Familiarizing yourself with how and when your camera’s HDR mode operates puts another powerful creative tool at your disposal for stunning smartphone photography.
Enhancing Photos with Editing Apps
Understanding Basic Adjustments
Every edit begins with fine-tuning basic elements like brightness, contrast, saturation, sharpness, and white balance. Small tweaks in these areas can bring out hidden details, correct exposure problems, and ensure your photos have the desired mood and clarity. Most apps offer intuitive sliders and one-tap auto-enhance features to quickly improve your image. However, learning to make precise manual adjustments gives you complete creative control, allowing you to perfect your vision and maintain a natural, polished appearance.
Exploring Creative Filters and Effects
Filters can dramatically alter the style of your photos, while effects such as vignettes, grain, or selective color can set your images apart. Many editing apps provide a wide range of artistic filters, but restraint is key: opt for subtle enhancements that complement your image rather than overwhelm it. Experimentation is encouraged—test different looks to see what enhances your subject or aligns with your creative aims. Customizing filter intensity and layering effects can help evoke certain emotions or create thematic consistency across your photography.
Mastering Retouching and Corrections
Beyond simple edits, powerful retouching tools can remove blemishes, unwanted objects, or distractions from your photos. Spot healing, cloning, and eraser functions make it possible to clean up backgrounds, perfect skin in portraits, or erase imperfections without leaving obvious traces. Learning to use these features with a delicate hand maintains the authenticity of your image while enhancing its impact. Advanced apps also offer perspective correction and selective adjustments, enabling you to target specific areas without affecting the whole photo, which is especially valuable for architectural shots or creative edits.
Previous
Next
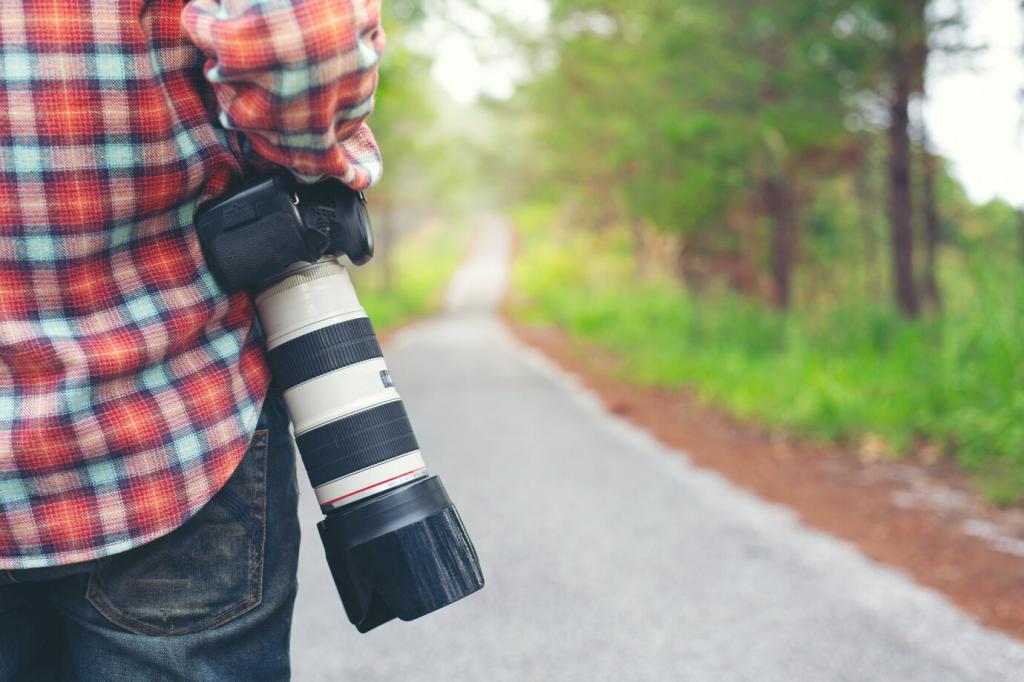
Using Accessories for Enhanced Results
Add-On Lenses for Versatility
Clip-on or magnetic add-on lenses are widely available for most smartphones and can provide fisheye, wide-angle, macro, or telephoto effects. These lenses instantly extend your creative capabilities, letting you get closer to tiny subjects, fit more scenery into your frame, or compress distant objects for striking portraits. While results vary depending on quality, even affordable options can open up fresh perspectives. Experimenting with different add-on lenses not only enhances versatility but also challenges you to see familiar scenes in new ways.

Portable Tripods and Mounts
Holding your phone steady is crucial for sharp images, particularly in low light or long-exposure scenarios. Compact tripods, flexible mounts, and smartphone stabilizers provide a stable base for creative techniques like night photography, time-lapse, or group selfies. Many of these accessories are lightweight and portable, making them easy to incorporate into your daily carry. Using a tripod not only improves technical image quality but also allows you to experiment with advanced techniques that aren’t possible handheld.
Developing Your Creative Eye
The environments you encounter every day are full of fascinating details waiting to be captured. By slowing down and observing your surroundings, you’ll start to notice textures, patterns, colors, and light that most people overlook. Developing the habit of looking for these elements—even in mundane settings—teaches you to compose compelling images anywhere. Becoming attentive to details is the first step toward infusing meaning and style into your everyday photography, enabling you to create images that resonate with viewers.